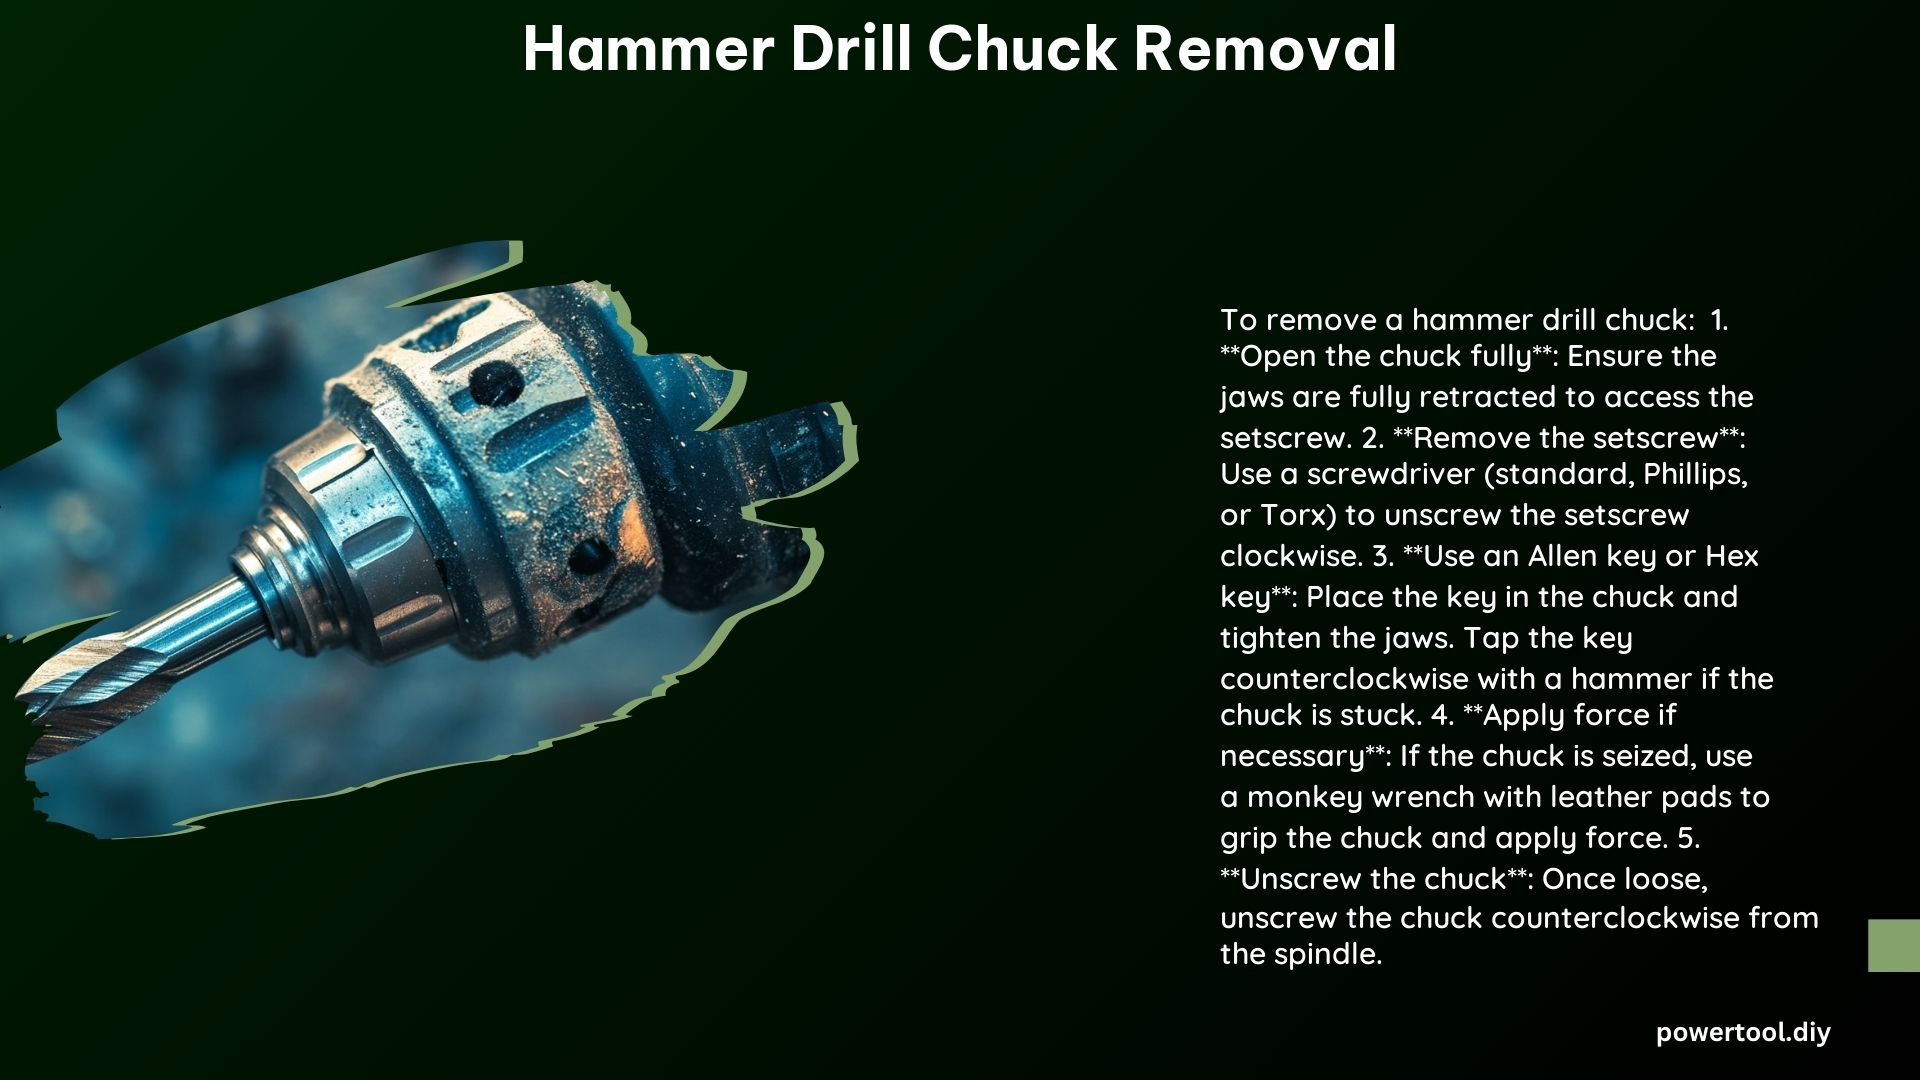
Removing the chuck from a hammer drill can be a daunting task, but with the right tools and techniques, it can be done efficiently and safely. This comprehensive guide will walk you through the step-by-step process of Hammer Drill Chuck Removal, providing you with the necessary information and technical specifications to ensure a successful outcome.
Tools Needed for Hammer Drill Chuck Removal
To remove the chuck from your hammer drill, you will need the following tools:
- Screwdriver: A standard, Phillips, or Torx screwdriver is required to remove the setscrew or retaining screw that secures the chuck to the spindle.
- Hammer: A hammer is used to tap the Allen key or Hex key in a counterclockwise direction to loosen the chuck.
- Pin Punch: If the chuck jaws are seized, a pin punch can be used to push them in and facilitate the removal process.
- Large Allen Key or Hex Key: A large Allen key or Hex key that fits snugly into the chuck is necessary to grip and turn the chuck.
- Replacement Chuck and Key: If your hammer drill has a keyed chuck, you will need a replacement chuck and key for reassembly.
Steps for Hammer Drill Chuck Removal

-
Open the Chuck Jaws: Begin by fully opening the chuck jaws to access the setscrew or retaining screw that secures the chuck to the spindle.
-
Remove the Setscrew: Use the appropriate screwdriver to remove the setscrew. For left-hand threaded screws, turn the screwdriver clockwise to remove the screw.
-
Use an Allen Key: Insert a large Allen key or Hex key into the chuck and tighten the jaws around it. This will provide a secure grip for the next step.
-
Tap the Allen Key: Holding the Allen key firmly, use a hammer to tap it in a counterclockwise direction. This will help to loosen the chuck from the spindle.
-
Unscrew the Chuck: Once the chuck is loosened, continue turning it counterclockwise by hand to fully unscrew it from the spindle.
Additional Tips for Hammer Drill Chuck Removal
-
Stuck Chucks: If the chuck is stuck and refuses to budge, try using pliers to grip and turn it. Alternatively, you can apply heat to the chuck using a heat gun or torch to expand the metal and facilitate removal.
-
Keyless Chucks: The process for removing a keyless chuck is similar, but instead of using an Allen key, you can use a monkey wrench to grip the chuck if the jaws cannot be closed on an Allen key.
-
Safety Precautions: Always wear safety glasses and gloves when performing any repairs or maintenance on your hammer drill. Ensure that the power is disconnected before attempting to remove the chuck.
Technical Specifications
- Bosch Hammer Drill HD18-2 (2016): This hammer drill features an 8.5 amp motor and is suitable for drilling through wood, metal, and concrete.
- DeWALT Hammer Drill: The DeWALT hammer drill uses a Torx screw for the setscrew and requires a large Allen wrench for the removal process.
References
- Hammer Drill Chuck Removal Tutorial
- Stuck Hammer Drill Chuck Removal
- ifixit.com Hammer Drill Chuck Removal Guide
By following the steps outlined in this comprehensive guide, you can successfully remove the chuck from your hammer drill and perform any necessary maintenance or replacement. Remember to always prioritize safety and consult the manufacturer’s instructions for specific model details.
