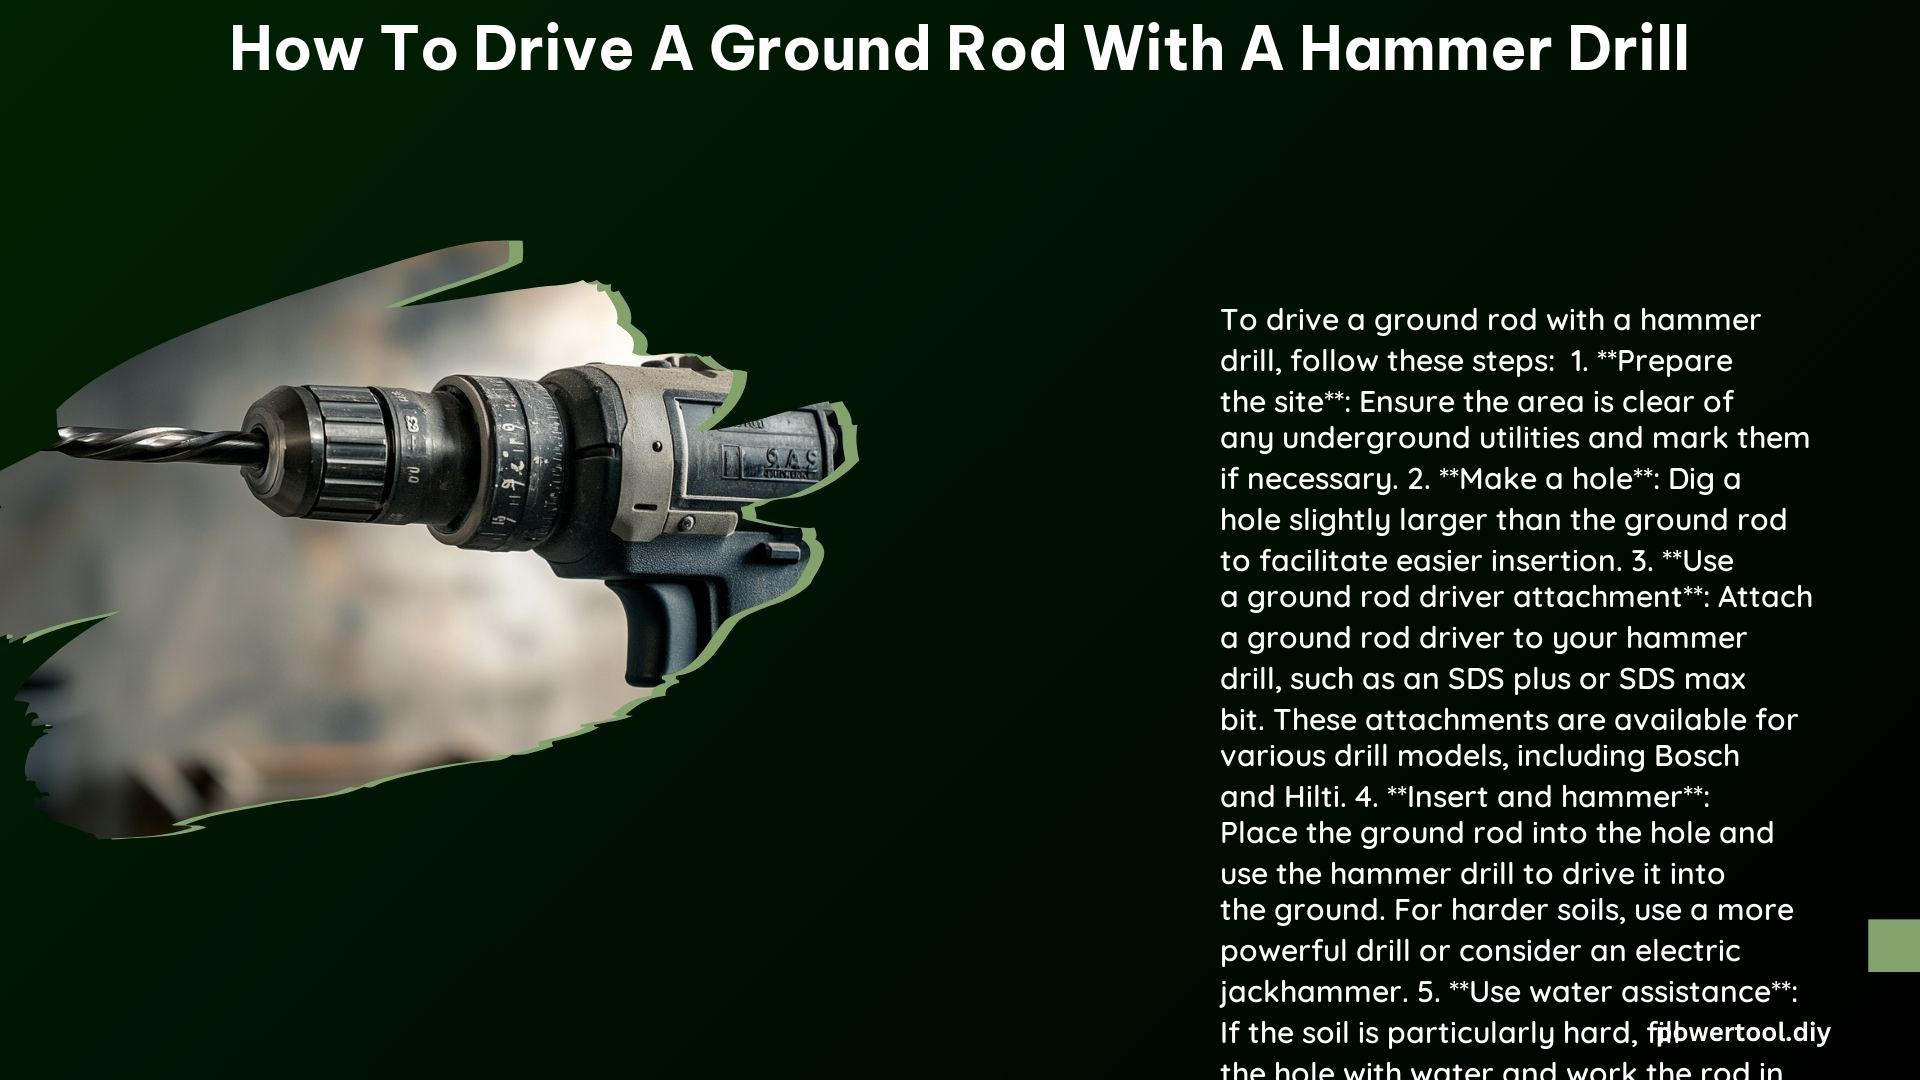
Driving a ground rod into the earth is a crucial step in ensuring proper electrical grounding for your home or building. While it may seem like a straightforward task, using the right hammer drill and following the correct techniques can make all the difference in successfully installing a ground rod. In this comprehensive guide, we’ll delve into the details of choosing the appropriate hammer drill, preparing the ground, attaching the ground rod, and driving it into the soil with precision.
Choosing the Right Hammer Drill
SDS Plus vs. SDS Max
When it comes to driving ground rods, the power and performance of your hammer drill are essential. SDS Max hammer drills are generally more powerful and better suited for this task, especially when dealing with harder soils. These drills typically have a higher impact energy rating, ranging from 2.5 to 12 joules, making them capable of efficiently driving ground rods into the ground.
However, if you have a more powerful SDS Plus hammer drill, such as the Bosch Bulldog Xtreme Max with an 8.5 amp motor, it can also be used effectively for driving ground rods, particularly in softer soil conditions.
Cordless vs. Corded
The choice between a cordless or corded hammer drill can depend on your specific needs and preferences. Cordless hammer drills, like the Bosch 18-Volt 1-9/16″ SDS Max Rotary Hammer Drill, offer greater mobility and flexibility, allowing you to work in remote or hard-to-reach areas without the constraints of a power cord. These tools typically have a 5.2 amp motor and can provide ample power for driving ground rods.
On the other hand, corded hammer drills may offer more consistent power and runtime, which can be beneficial for longer or more demanding ground rod installations. The trade-off is the need to manage the power cord and ensure access to a reliable power source.
Preparing the Ground

Making a Hole
Before driving the ground rod, it’s recommended to create a pilot hole slightly larger than the diameter of the rod. This can be done using a post-hole digger, auger, or even a smaller diameter drill bit. The purpose of this pilot hole is to facilitate the easier insertion and driving of the ground rod, reducing the amount of force required and minimizing the risk of bending or damaging the rod.
Using Water
To further reduce friction and ease the process of driving the ground rod, it’s beneficial to fill the pilot hole with water. This helps to lubricate the rod and the surrounding soil, making the driving process smoother and more efficient. Be sure to allow the water to fully soak into the soil before beginning the driving process.
Attaching the Ground Rod
Ground Rod Driver Attachment
For the most secure and efficient connection between your hammer drill and the ground rod, it’s recommended to use a specific ground rod driver attachment. These attachments are designed to fit both SDS Plus and SDS Max hammer drills, providing a secure and stable connection that helps to transfer the full power of the drill to the ground rod.
Slipping the Drill over the Rod
While some users have reported success in driving ground rods by simply slipping the hammer drill over the rod without a bit, this method is generally not recommended. The lack of a secure attachment can result in the drill slipping or losing its grip on the rod, leading to less efficient driving and potentially damaging the drill or the rod itself.
Driving the Ground Rod
Hammer Drill Technique
When using a hammer drill to drive the ground rod, it’s important to maintain a controlled and consistent approach. Apply steady pressure to the drill, and work the rod in and out of the ground in a controlled manner. This technique helps to ensure that the rod is driven straight and true, without bending or deformation.
Using a Sledgehammer
If you do not have access to a hammer drill, a sledgehammer can be used as an alternative method for driving the ground rod. However, this approach is more labor-intensive and time-consuming, and may require more physical effort to achieve the desired depth.
Additional Tips
Soil Conditions
The type of soil you’re working with can significantly impact the ease of driving the ground rod. Harder soils, such as clay, may require more powerful tools or additional techniques to overcome the increased resistance. In these cases, you may need to consider using a larger diameter ground rod or even pre-drilling a larger pilot hole to facilitate the driving process.
Safety
Before beginning any ground rod installation, it’s crucial to ensure that all utilities have been properly marked and that you are aware of any potential hazards in the area. This includes checking for underground cables, pipes, or other obstructions that could be damaged during the driving process.
Technical Specifications
Bosch 18-Volt 1-9/16″ SDS Max Rotary Hammer Drill
This cordless hammer drill from Bosch features a 5.2 amp motor and is capable of delivering up to 4.8 joules of impact energy. It’s well-suited for driving ground rods, particularly in softer soil conditions.
Bosch Bulldog Xtreme Max
The Bosch Bulldog Xtreme Max is an SDS Plus hammer drill with an 8.5 amp motor, making it a powerful option for driving ground rods in a variety of soil types. Its higher impact energy rating of up to 2.6 joules can be beneficial when working with harder soils.
