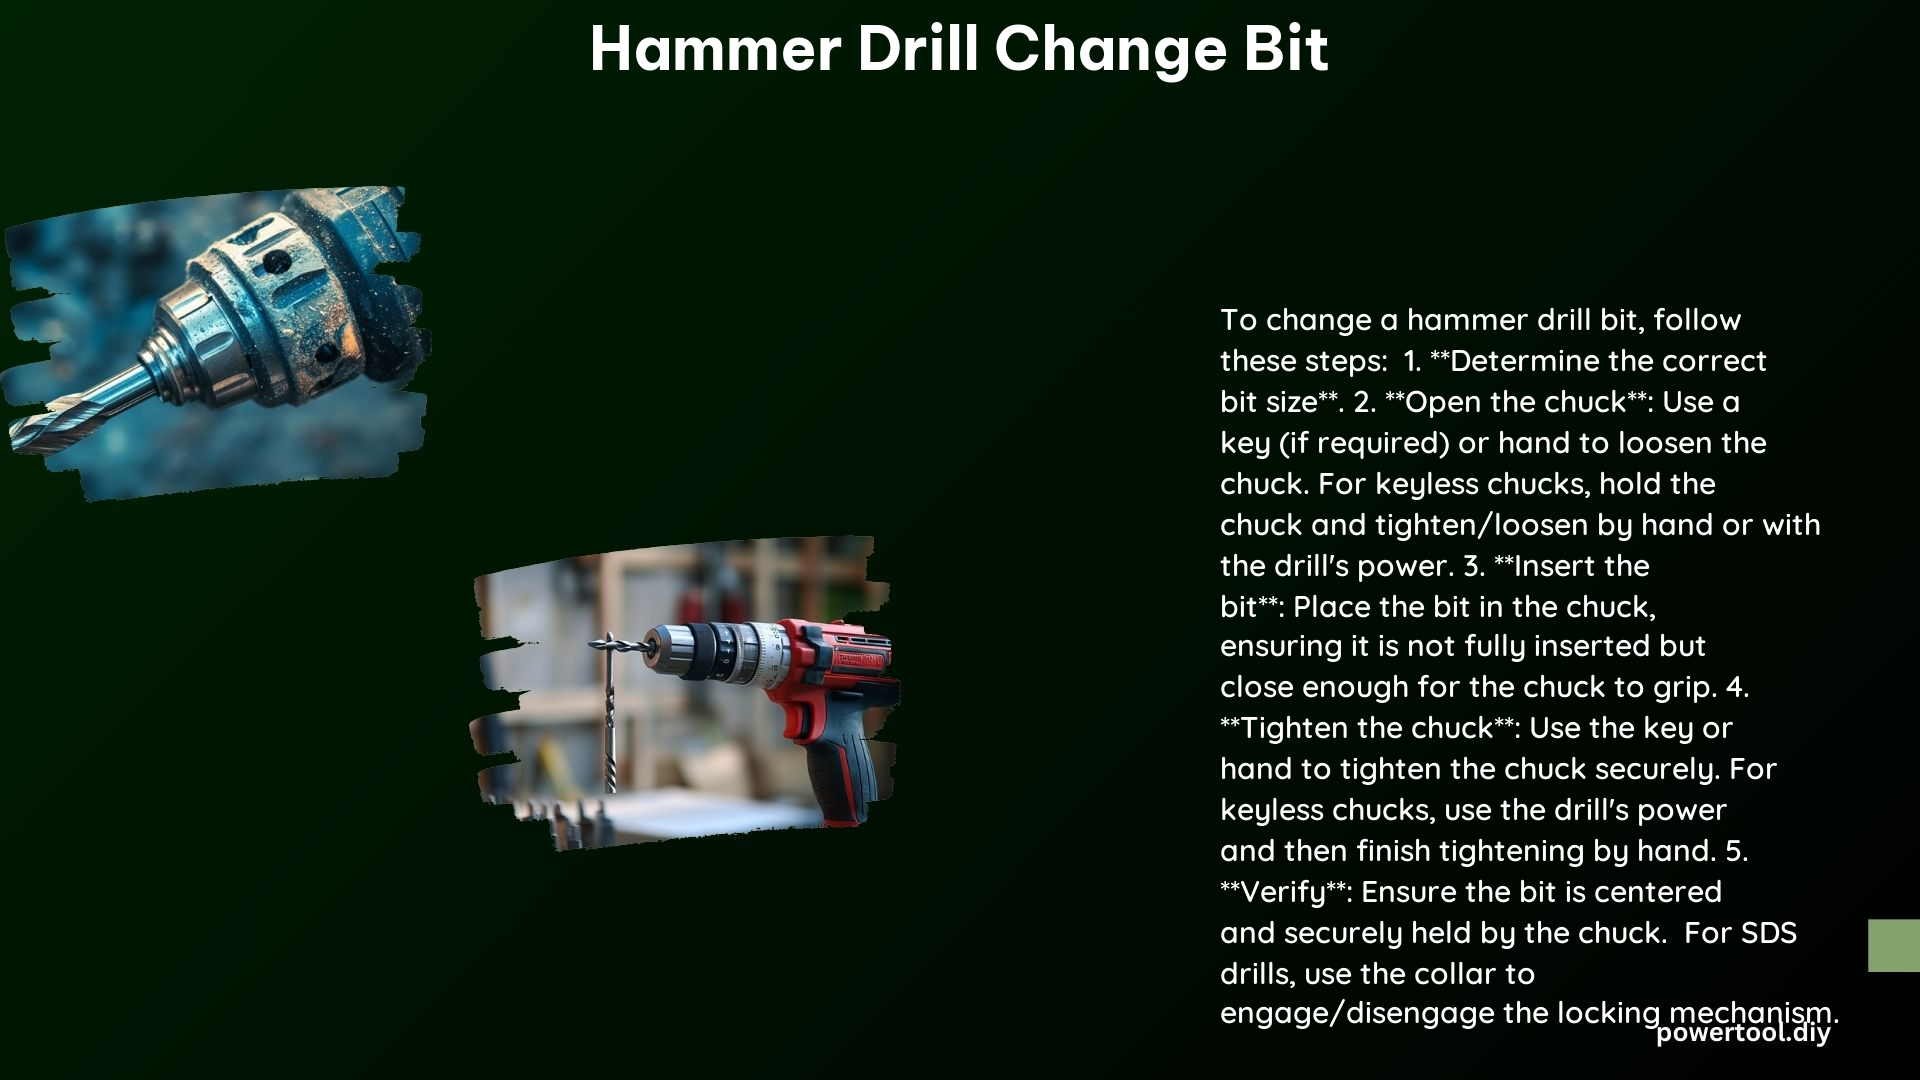
Changing the drill bit on your hammer drill is a crucial task that ensures the proper functioning and longevity of your power tool. Whether you’re tackling a home improvement project or a professional construction job, mastering the art of bit replacement is essential for efficient and safe operation. In this comprehensive guide, we’ll delve into the step-by-step process, technical specifications, and additional tips to help you navigate the world of hammer drill bit changes with confidence.
Loosening the Chuck
The first step in changing the drill bit on your hammer drill is to loosen the chuck. Depending on the type of chuck your tool has, the process may vary slightly:
-
Keyless Chucks: For chucks without a key, use your hands to rotate the chuck counterclockwise to loosen it. The chuck should turn smoothly, allowing you to grip and turn it with ease.
-
Keyed Chucks: If your hammer drill has a chuck with a key, use the provided chuck key to rotate the chuck counterclockwise. Ensure that the key is securely inserted into the chuck before applying force to loosen it.
Removing the Old Bit

Once the chuck is loosened, the next step is to remove the old drill bit. Gently pull the bit out of the chuck, taking care not to damage the tool or your hands.
Inserting the New Bit
With the old bit removed, it’s time to insert the new one. Carefully place the new drill bit into the chuck, ensuring that it is centered and not inserted too far or too little. This will help ensure a secure and stable fit, which is crucial for the proper functioning of your hammer drill.
Tightening the Chuck
After inserting the new bit, it’s time to tighten the chuck to secure the bit in place. The process is the reverse of the loosening step:
-
Keyless Chucks: Use your hands to rotate the chuck clockwise, tightening it until the bit is firmly in place.
-
Keyed Chucks: Insert the chuck key into the chuck and rotate it clockwise to tighten the chuck and secure the bit.
Securing the Bit
To ensure the drill bit is firmly in place, give it an additional snug tighten. This extra step will help prevent the bit from becoming loose during use, which could lead to safety issues or damage to the tool.
Technical Specifications
When it comes to hammer drills, there are a few key technical specifications to consider:
-
Drill Bit Types: For drilling into concrete, masonry, or other hard surfaces, it’s essential to use SDS (Slotted Drive System) drill bits. These bits are specifically designed for use with hammer drills and provide the necessary power and durability for such tasks.
-
Chuck Types: Hammer drills can be equipped with either keyless or keyed chucks. Both types are effective for changing drill bits, but the specific steps may vary slightly depending on the chuck type.
Additional Tips
To ensure the best performance and safety when changing the drill bit on your hammer drill, consider the following additional tips:
-
Use the Correct Mode: Make sure your hammer drill is set to the appropriate mode (e.g., hammer mode) for the task at hand, such as drilling into brickwork or masonry.
-
Consult the Manual: If you’re unsure about the specific steps for your hammer drill model, refer to the user manual for detailed instructions. This can help you avoid any potential issues and ensure a successful bit change.
By following the steps outlined in this comprehensive guide, you’ll be able to confidently and safely change the drill bit on your hammer drill, whether you’re tackling a DIY project or a professional job site. Remember to always prioritize safety, use the correct tools and techniques, and refer to your manufacturer’s instructions for the best results.
