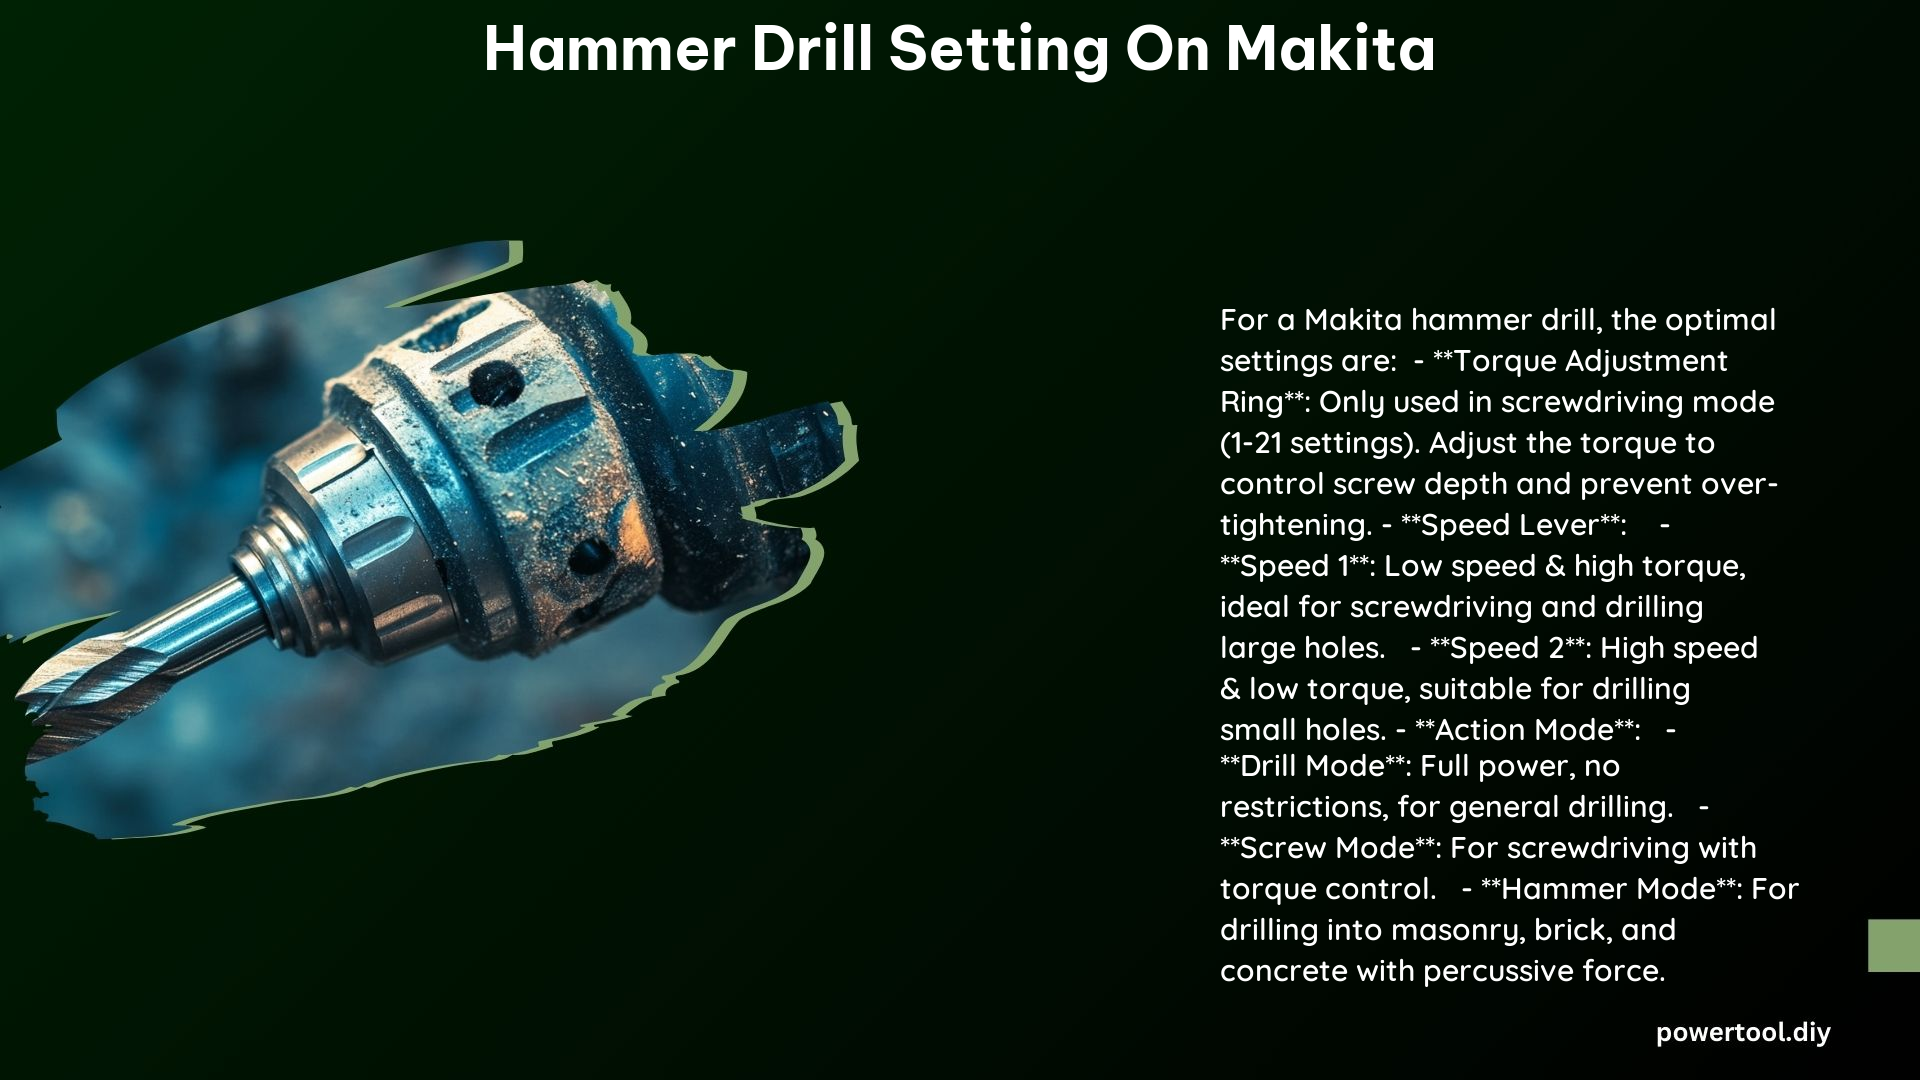
The Makita hammer drill is a versatile power tool designed to handle a wide range of drilling and fastening tasks with ease. Its settings are carefully engineered to provide users with precise control and optimal performance, whether you’re drilling into concrete, driving screws, or tackling general drilling projects. In this comprehensive guide, we’ll delve into the intricacies of the Makita hammer drill settings, equipping you with the knowledge to harness its full potential.
Modes: Unlocking Drilling Versatility
The Makita hammer drill offers three distinct modes, each tailored to specific applications:
- Drill Mode:
- Icon: A small twist bit
-
Function: Unleashes the full power of the drill, making it ideal for general drilling tasks. This mode allows the drill to operate without any restrictions, providing maximum speed and torque.
-
Screw Mode:
- Icon: A screw
-
Function: Enables precise torque adjustment, allowing you to control the amount of force applied while driving screws. This ensures that screws are not overtightened, preventing damage to the workpiece or the screw itself.
-
Hammer Mode:
- Icon: A hammer
- Function: Delivers additional impact force, making it the go-to choice for drilling into masonry materials such as stone, brick, and concrete. This mode harnesses the hammer mechanism to provide the necessary power for these challenging materials.
Speed Settings: Optimizing Drilling Efficiency

The Makita hammer drill offers two speed settings, each designed to cater to specific drilling requirements:
- Speed 1:
-
Function: Rotates the drill at a slower speed, providing more control and higher torque. This setting is ideal for tasks that require precision, such as screwdriving or drilling large holes.
-
Speed 2:
- Function: Operates the drill at a faster speed, making it the preferred choice for quickly drilling smaller holes. This setting prioritizes speed over torque, allowing you to work more efficiently on certain projects.
Torque Adjustment: Precise Control for Screwdriving
The Makita hammer drill features a torque adjustment ring that allows you to fine-tune the amount of torque applied when in Screw Mode. This setting ranges from 1 to 21, with the higher numbers indicating increased torque. By adjusting the torque, you can ensure that screws are driven in with the appropriate amount of force, preventing them from being overtightened or stripped.
Advanced Features and Specifications
The Makita 18V LXT Lithium-Ion 1/2 in. Brushless Hammer Driver boasts several advanced features that contribute to its exceptional performance:
- Voltage: 18V, providing ample power for demanding drilling and fastening tasks.
- Battery Type: Lithium-Ion, offering long runtime and rapid charging capabilities.
- Chuck Size: 1/2 inch, accommodating a wide range of drill bits and accessories.
- Motor Type: Brushless, delivering increased efficiency, longer runtime, and reduced maintenance requirements.
Optimizing Hammer Drill Performance
To ensure the most efficient and safe operation of your Makita hammer drill, consider the following tips:
-
Mode Selection: Always select the appropriate mode (Drill, Screw, or Hammer) based on the task at hand. This will help you maximize the tool’s performance and prevent potential damage to the workpiece or the drill itself.
-
Speed Adjustment: Adjust the speed setting (1 or 2) according to the size of the hole you’re drilling or the material you’re working with. Slower speeds provide more control and torque, while faster speeds are better suited for smaller holes.
-
Torque Control: When in Screw Mode, use the torque adjustment ring to find the optimal setting for the screws you’re driving. This will help you avoid overtightening and ensure a secure, damage-free connection.
-
Hammer Mode Technique: When drilling into masonry materials, start with a slower speed to get the hole started, then switch to a faster speed if needed. This approach helps you maintain control and prevent the drill from wandering or causing excessive damage to the surface.
By mastering the Makita hammer drill settings, you’ll unlock a world of versatility and precision, empowering you to tackle a wide range of DIY and professional projects with confidence. Remember to always prioritize safety and follow the manufacturer’s recommendations for optimal performance and longevity of your tool.
