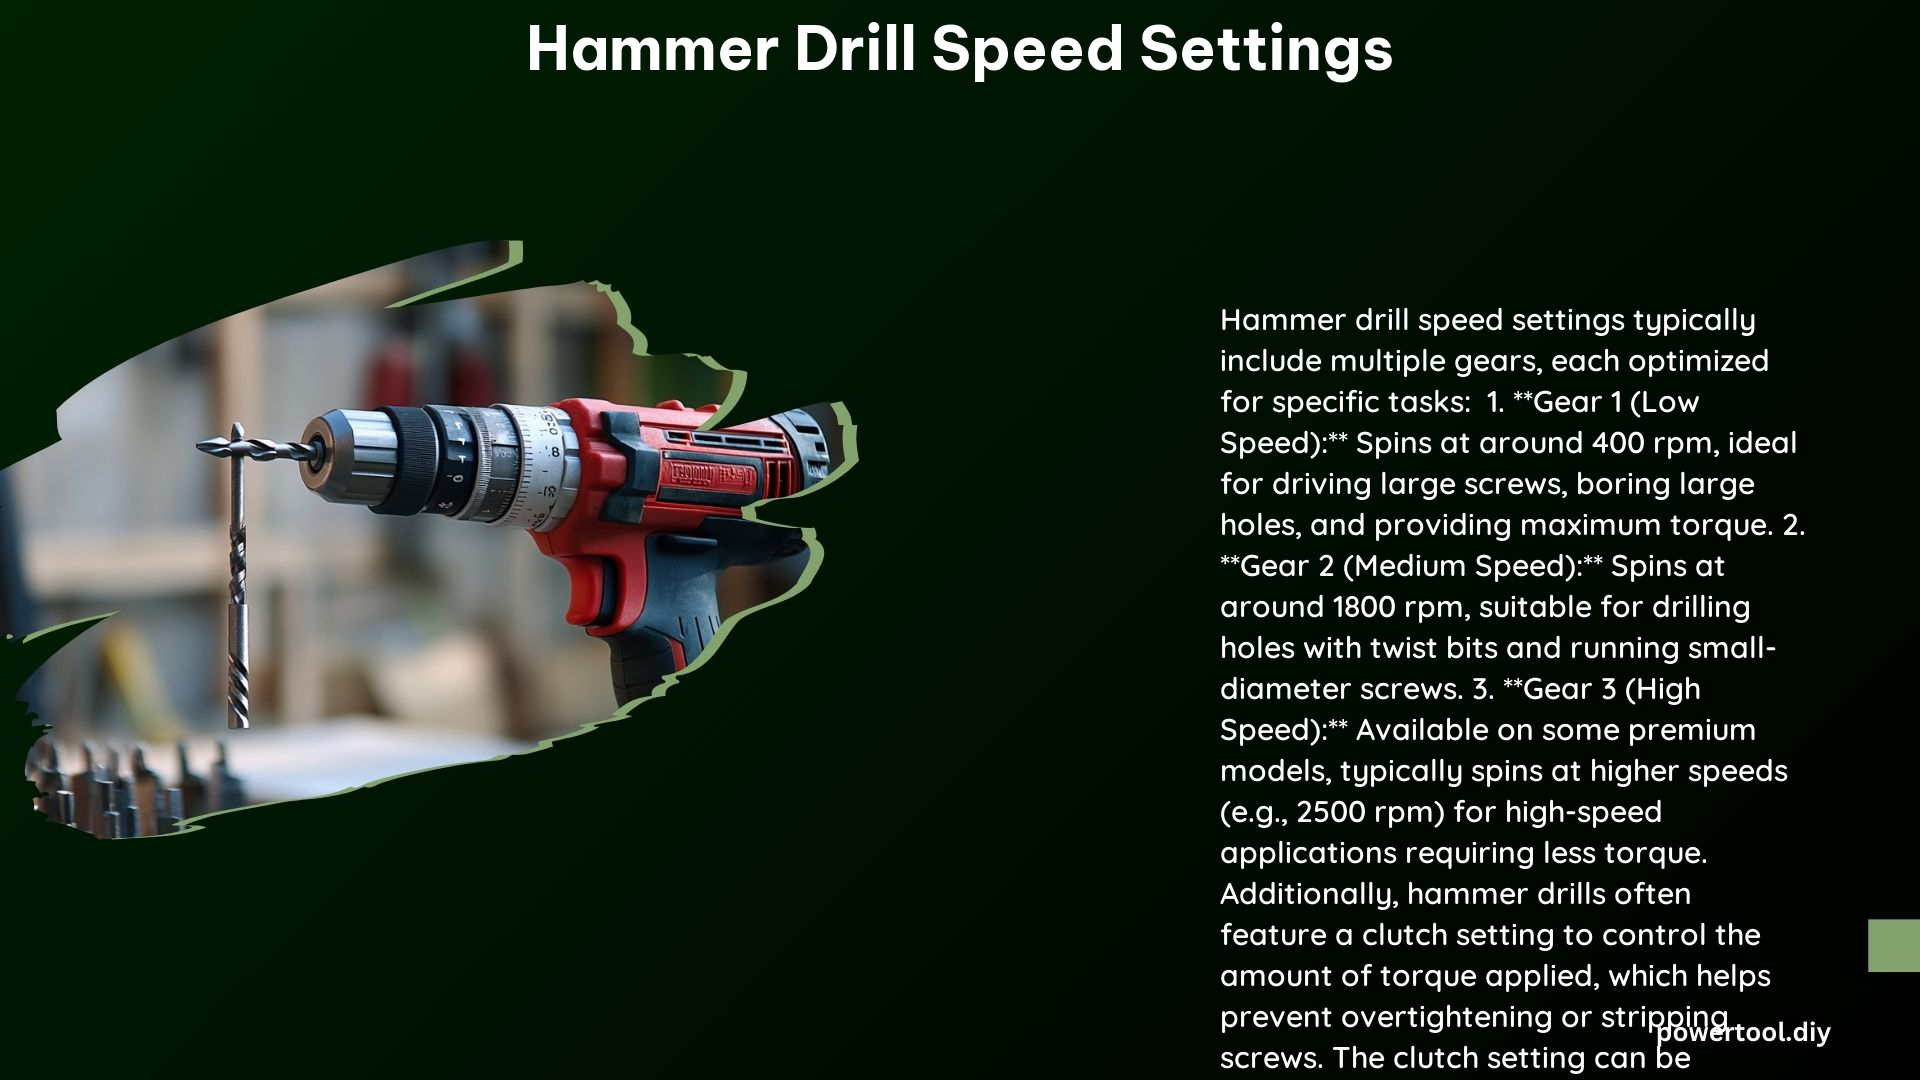
Hammer drills are versatile power tools that excel in a wide range of drilling and driving tasks, from tackling tough masonry to precisely installing hardware. Optimizing the speed settings on your hammer drill is crucial for achieving the best performance, efficiency, and safety. In this comprehensive guide, we’ll delve into the intricacies of hammer drill speed settings, equipping you with the knowledge to harness the full potential of your tool.
Speed Settings: Unlocking the Power
Hammer drills typically offer multiple speed settings, each tailored for specific applications:
Gear 1 (Low Speed)
- Speed Range: Typically around 400 RPM
- Ideal For: High-torque applications, such as driving large screws, drilling with spade bits, or mixing materials. The lower speed provides maximum torque, making it perfect for tasks that require brute force.
Gear 2 (Medium Speed)
- Speed Range: Typically around 1,800 RPM
- Ideal For: Drilling with twist bits and running small-diameter screws. This medium speed setting strikes a balance between power and precision, making it suitable for a wide range of general-purpose drilling and driving tasks.
Gear 3 (High Speed)
- Speed Range: Varies by model, but can reach up to 3,000 RPM
- Ideal For: Drilling small holes quickly. This high-speed setting sacrifices torque for maximum rotational speed, making it the go-to choice for tasks that prioritize speed over raw power, such as creating pilot holes or drilling through soft materials.
Torque Adjustment: Mastering the Clutch

Hammer drills often feature a torque adjustment, commonly referred to as the “clutch” setting. This setting allows you to fine-tune the amount of torque applied, which is crucial for preventing damage to delicate materials or overtightening fasteners.
Low Clutch Settings (1-7)
- Ideal For: Delicate tasks, such as installing hardware, where the drill should clutch out under resistance to avoid overtightening.
- Application: These lower clutch settings provide just enough torque to drive screws or set anchors without the risk of stripping or damaging the material.
High Clutch Settings (8-11)
- Ideal For: Tasks requiring more torque, such as driving large screws or drilling through dense materials.
- Application: The higher clutch settings unleash the full power of the hammer drill, allowing you to tackle tough jobs that demand increased torque.
Mode Selection: Adapting to the Task
Hammer drills typically offer multiple operating modes, each designed for specific applications:
Hammer Mode
- Purpose: For drilling into masonry, concrete, or brick.
- Function: This mode introduces a pulsating action to the drill bit, helping it penetrate harder materials more effectively.
Drill Mode
- Purpose: For general drilling tasks.
- Function: Provides maximum torque for drilling, ensuring the drill does not clutch out under load.
Drive Mode
- Purpose: For controlled screw driving.
- Function: Engages the torque adjustment (clutch) setting, allowing you to precisely control the amount of torque applied to the fastener.
Material and Bit Size Considerations
The optimal speed and torque settings for your hammer drill will depend on the material you’re working with and the size of the drill bit or accessory you’re using.
Material
- Softer Materials (Wood, Plastic): Require higher speed settings to achieve efficient drilling or driving.
- Harder Materials (Metal, Concrete, Brick): Require lower speed settings and higher torque to overcome the increased resistance.
Bit Size
- Larger Bits: Require lower speed settings and higher torque to maintain control and prevent the bit from wandering or binding.
- Smaller Bits: Can handle higher speed settings, as they generate less resistance and require less torque to operate effectively.
Tips and Tricks
- Avoid Overheating: Use the correct speed and torque settings for the task at hand to prevent overloading the drill motor and causing it to overheat.
- Adjust Settings Accordingly: Continuously monitor the performance and adjust the speed and torque settings as needed, based on the material and bit size.
- Utilize Clutch Settings: Leverage the clutch settings to avoid overtightening screws or damaging delicate materials.
- Consult the Manual: Refer to the manufacturer’s instructions for specific speed, torque, and mode recommendations for your particular hammer drill model.
Conclusion
Mastering the speed settings on your hammer drill is essential for unlocking its full potential and ensuring optimal performance in a wide range of drilling and driving tasks. By understanding the nuances of speed, torque, and mode selection, you can confidently tackle any project, from delicate hardware installations to heavy-duty masonry work. Remember to always prioritize safety, consult your drill’s instruction manual, and adjust the settings as needed to achieve the best results.
References
- ToolGuyd. (2018). When Do You Change Your Drill’s Speed Setting? Retrieved from https://toolguyd.com/drill-different-speed-settings-question/
- YouTube. (2023). What Do The Settings On A DeWALT Drill Mean. Retrieved from https://www.youtube.com/watch?v=WSvEsf9DfPA
- Reddit. (2022). ELI5 All the settings/number on cordless drills and its purpose. Retrieved from https://www.reddit.com/r/explainlikeimfive/comments/zv43wo/eli5_all_the_settingsnumber_on_cordless_drills/
- YouTube. (2022). Cordless Drill Speed, Torque, & Clutch Settings. Retrieved from https://www.youtube.com/watch?v=BSPh6HI6hwg
- Fine Homebuilding. (2009). Hammer Drill-Driver. Retrieved from https://www.finehomebuilding.com/2009/11/12/hammer-drill-driver
