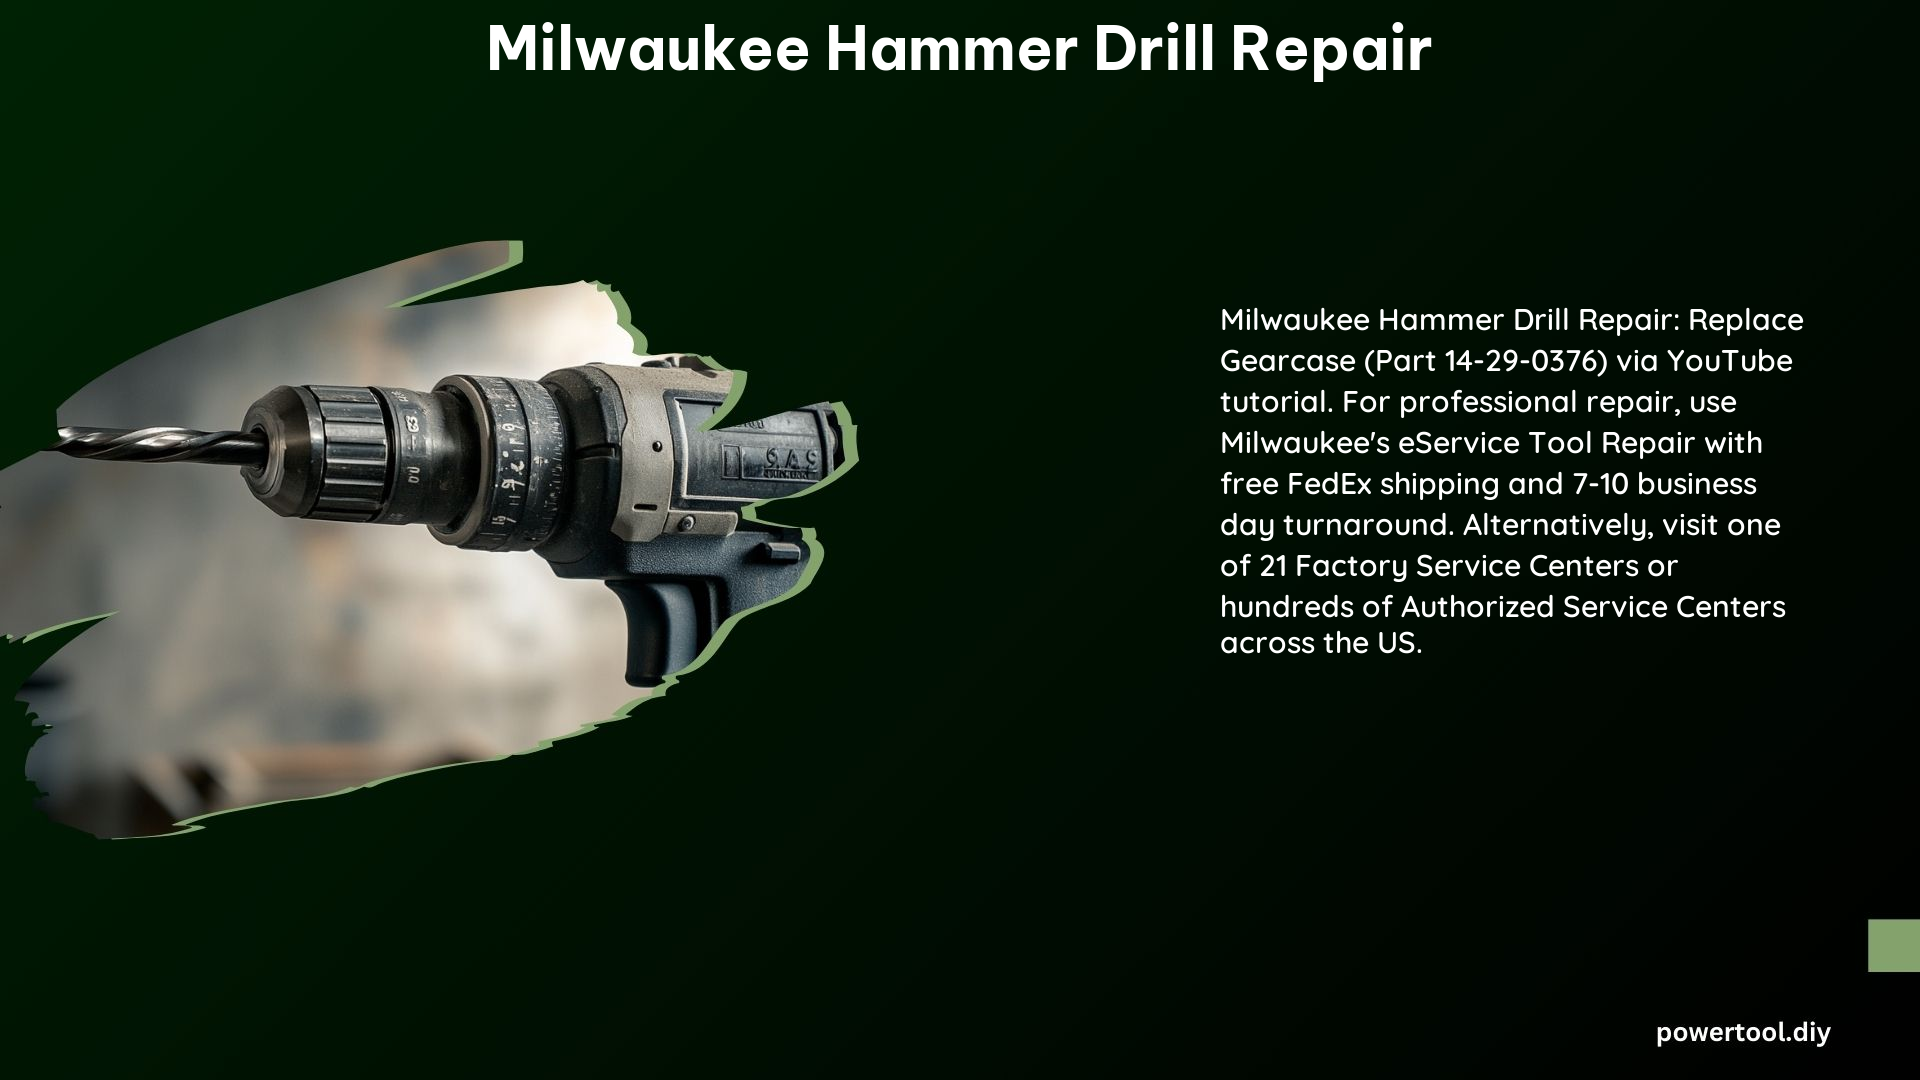
As a Milwaukee tool enthusiast, you understand the importance of maintaining your hammer drill in top-notch condition. Whether you’re a professional contractor or a passionate DIY hobbyist, knowing how to properly repair your Milwaukee hammer drill can save you time, money, and the hassle of dealing with a malfunctioning tool. This comprehensive guide will walk you through the typical turnaround time, cost, and the step-by-step process of disassembling and repairing your Milwaukee hammer drill.
Typical Turnaround Time for Repairing a Milwaukee Hammer Drill
When it comes to repairing a Milwaukee hammer drill, the typical turnaround time is 7-10 business days. This standard timeframe is the norm for most repairs completed at Milwaukee Tool’s factory service centers. However, it’s important to note that the actual turnaround time may vary depending on the severity of the issue, the availability of replacement parts, and the workload at the service center.
Cost of Repairing a Milwaukee Hammer Drill

The cost of repairing a Milwaukee hammer drill can vary depending on the specific problem. However, Milwaukee offers a convenient flat-rate repair service for their hammer drills, which is priced at $170. This flat-rate option is an attractive choice for users who don’t want to delve into the diagnosis process themselves. It’s worth noting that the flat-rate repair service covers the labor and any necessary parts replacement, providing a hassle-free experience for the customer.
Steps Involved in Disassembling and Repairing a Milwaukee Hammer Drill
Disassembling and repairing a Milwaukee hammer drill involves a series of carefully executed steps. Here’s a detailed breakdown of the process:
- Removing the Battery and Rear Cover:
- Start by removing the battery from the drill.
-
Next, remove the rear cover, which is secured in place by four screws.
-
Removing the Chuck:
- To remove the chuck, unscrew it from the spindle.
-
This process may require the use of a large Allen wrench and a gentle tapping with a hammer to free the chuck.
-
Removing the Gearcase Assembly:
- The gearcase assembly, which includes the transmission and clutch, needs to be removed.
-
This assembly is secured by screws and requires careful disassembly.
-
Inspecting and Replacing Parts:
- Thoroughly inspect the gearcase assembly for any worn or damaged components.
-
Replace any faulty parts, such as the transmission or clutch, as necessary.
-
Reassembling the Drill:
- Once the necessary repairs have been made, reassemble the drill in the reverse order of disassembly.
- Ensure that all screws and parts are securely in place.
Technical Specifications for Milwaukee Hammer Drill Repair
When it comes to repairing your Milwaukee hammer drill, it’s essential to have the right technical specifications on hand. Here are the key details:
- Gearcase Assembly Part Number: 14-29-0376 (specific to the Milwaukee 2602-20 cordless hammer drill)
- Fix Part Number: FIX10120380
Additional Resources for Milwaukee Hammer Drill Repair
Milwaukee Tool offers several resources to assist you with the repair process:
- Milwaukee Tool Repair Centers:
- Milwaukee has 21 Factory Service Centers and hundreds of Authorized Service Centers across the United States.
-
These service centers provide convenient repair options for your Milwaukee hammer drill.
-
eService Tool Repair:
- Milwaukee’s eService tool repair program offers a 24/7 solution for quick and convenient repairs.
-
This service includes free FedEx shipping to a repair facility.
-
Lightning Max Repair:
- This program from Milwaukee Tool guarantees that users only pay for the actual cost of the repair.
- This protects customers from unexpected repair costs that may exceed the quoted price.
By leveraging these resources and following the step-by-step guide, you can confidently tackle the repair of your Milwaukee hammer drill and keep your tool in top working condition.
